
Magnetic Track Systems for LED Signs: Installation Guide

Magnetic LED track systems reduce installation time by 40-60% vs screw-mounted alternatives, but only when magnet type, track profile, and surface prep are matched. Neodymium N35-N52 magnets provide 2-8 kg holding force per magnet; ferrite delivers 0.5-1.5 kg. Surface flatness tolerance within 0.5mm/m and cleanliness determine whether magnets hold for 6 months or 6 years.
Magnetic track systems have quietly become one of the most popular mounting solutions for LED luminous signs — and for good reason. They eliminate drilling into the letter body, allow tool-free removal for maintenance, and create a clean, consistent standoff gap that’s hard to achieve with traditional screw methods.
In this guide, we cover how magnetic track systems work, the three main installation methods, and exactly which components you need for each setup.
How Magnetic Track Systems Work
A magnetic track system consists of two parts: a conductive track strip mounted to the wall, and magnetic connectors attached to the back of each letter. The letters snap onto the track magnetically — no drilling, no screws through the letter body.
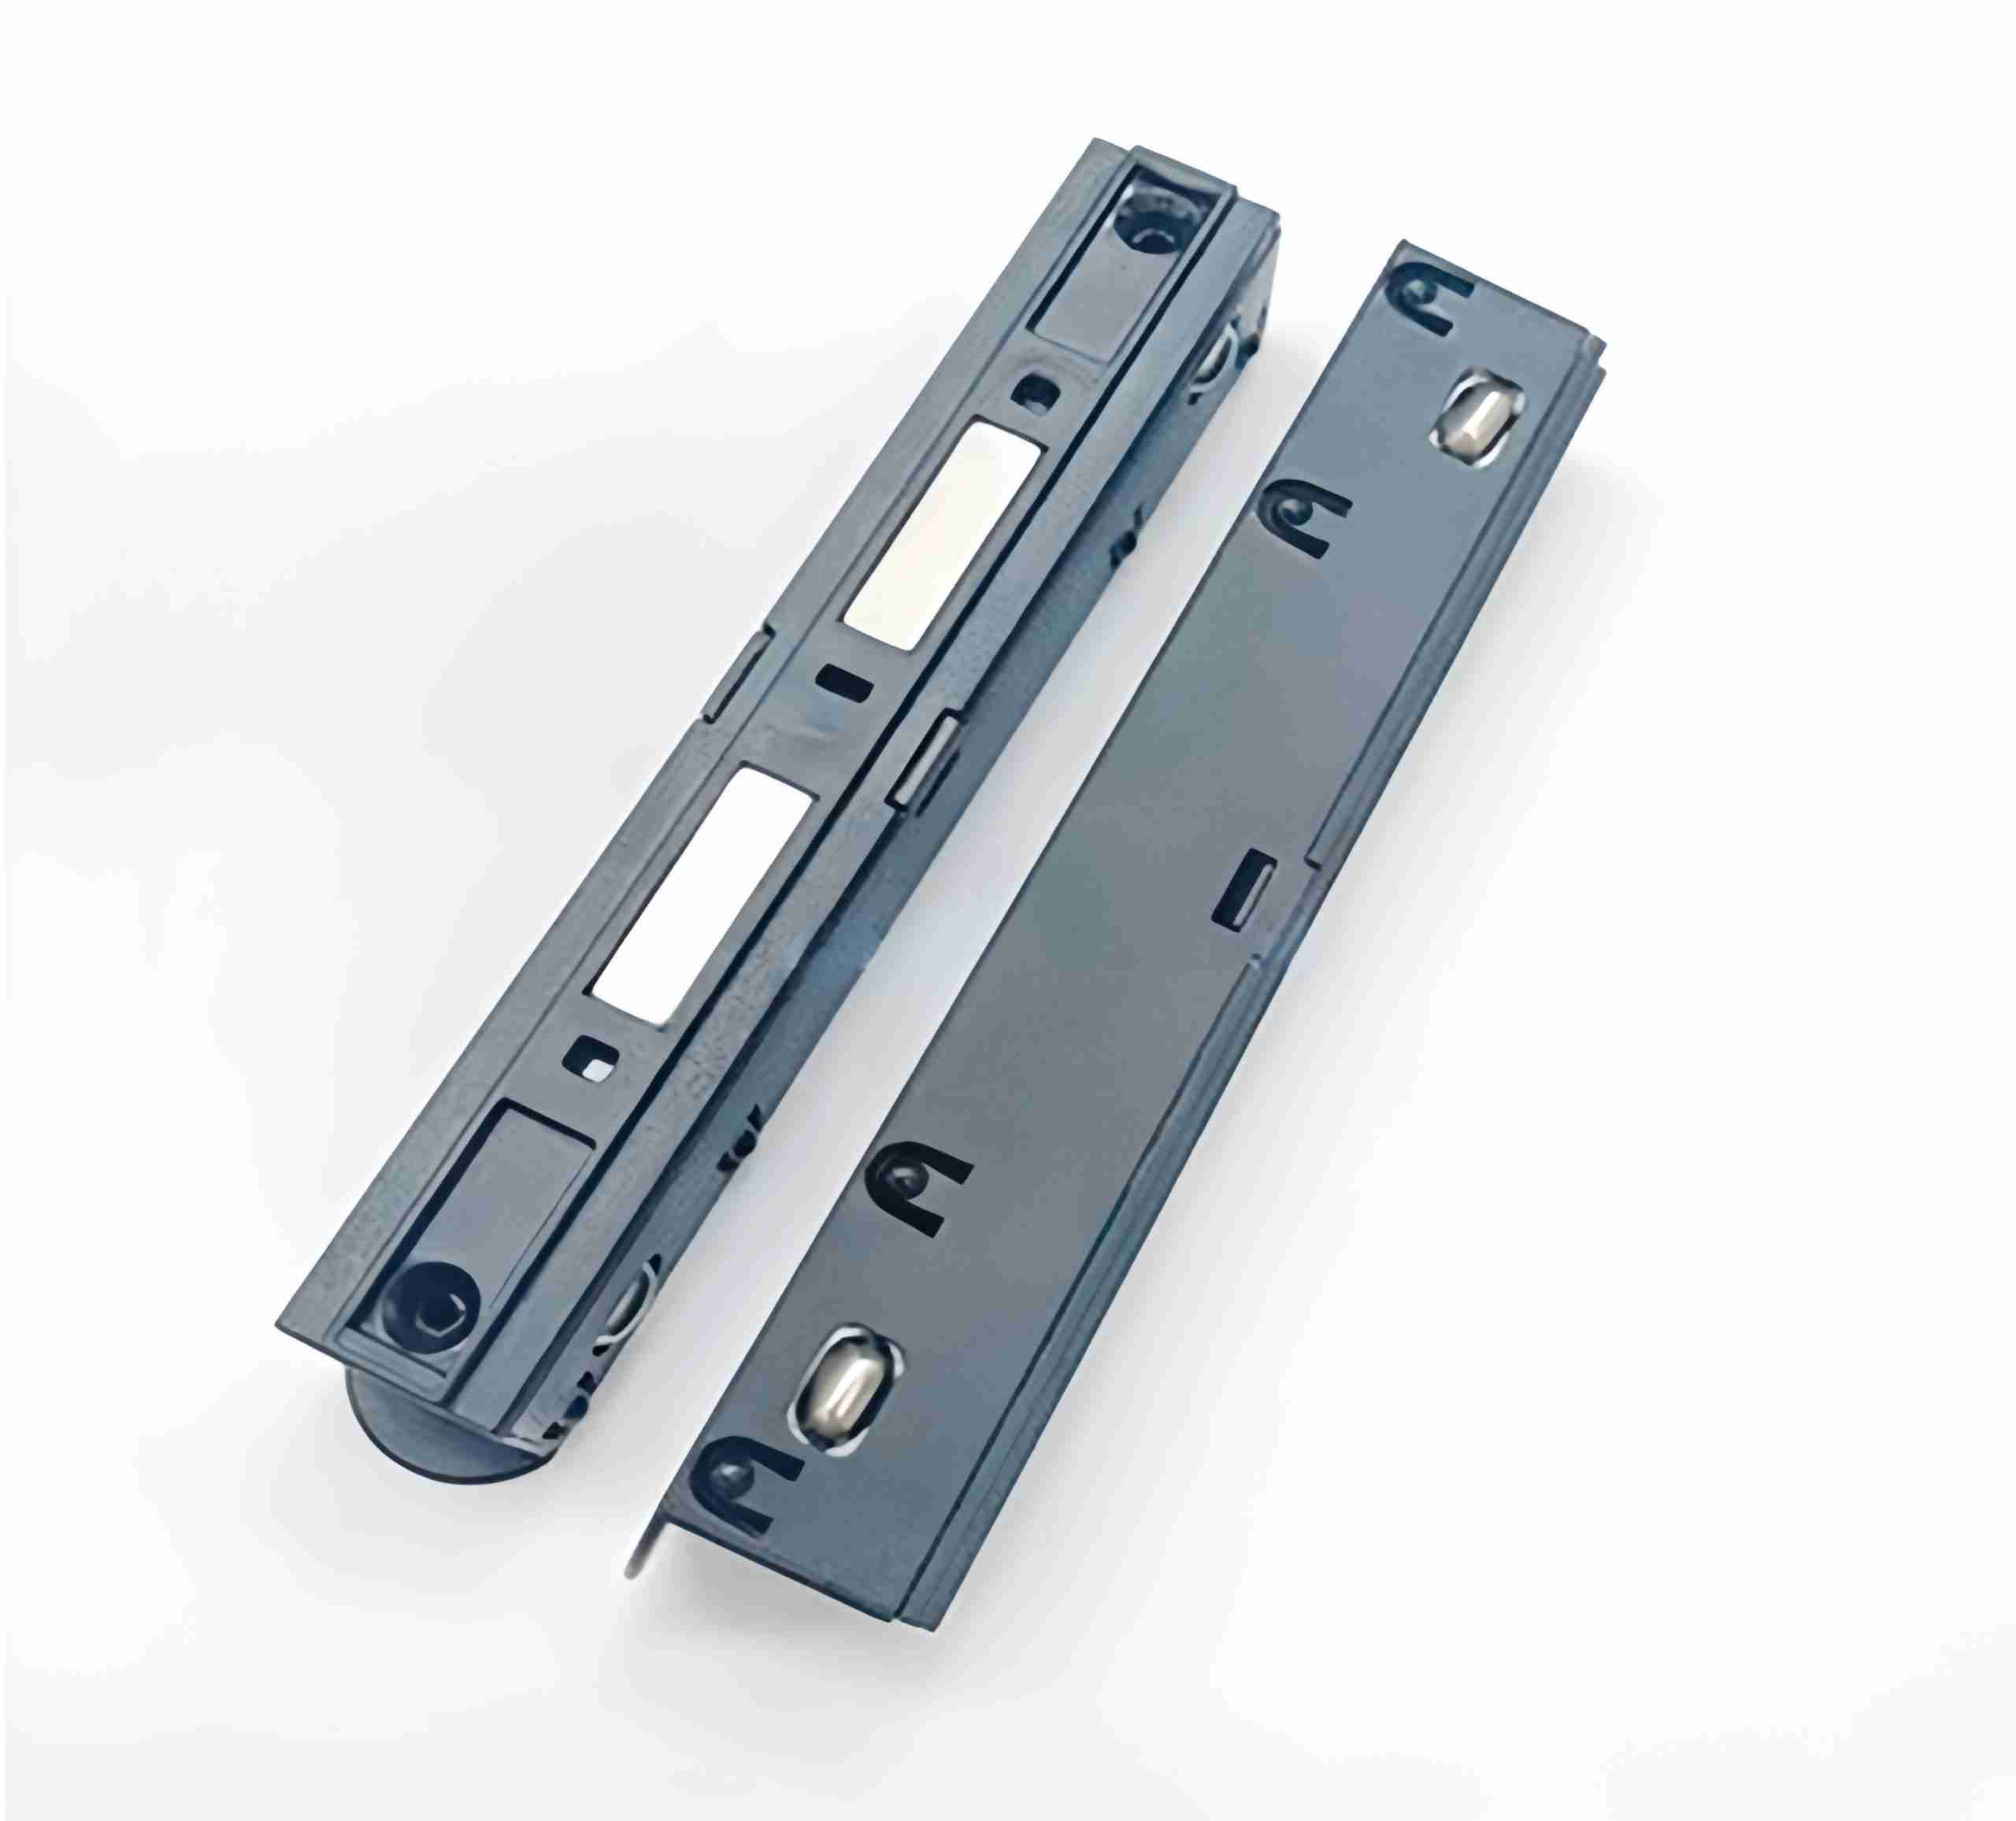
The Second Generation Magnetic Track Strip is the core component. It mounts directly to the wall surface and serves as both the physical rail and the electrical conductor, carrying power to the letters through built-in conductive channels.
Key advantages over traditional screw mounting:
- No drilling into the letter face or sides — preserves the letter’s structural integrity
- Uniform standoff distance across all letters in a set
- Letters can be removed and reinstalled without tools — ideal for maintenance access
- Clean wiring path — power runs through the track, not exposed cables
Components Overview

Before choosing your installation method, understand the three main accessories:
- Magnetic Conductive Head — Attaches to the letter back and connects electrically to the track. This is the primary contact point for power transfer.
- Magnetic Conversion Head — Used when adapting existing non-magnetic letters to work with a track system. Converts standard screw holes into magnetic mount points.
- Track Word Hanging Rope — A safety retention rope used for overhead or high-wall installations. Provides a secondary connection point if the magnetic hold is compromised.
Three Installation Methods
Method 1: Direct Wall Mount (Standard)
The most common installation. The track strip is fastened horizontally to the wall, and letters hang directly from it.
Best for: Indoor signage, flat wall surfaces (concrete, drywall, tile), letters under 50cm.
Steps:
- Mark the track position on the wall using a spirit level. The track should sit at the center height of your letter set.
- Drill anchor points and fix the magnetic track strip to the wall using M6 screws or expansion anchors depending on wall material.
- Connect the track to the power supply. The track has polarity markers — observe positive and negative carefully.
- Attach magnetic conductive heads to the back of each letter at the prescribed spacing (typically every 20–30cm for letters over 40cm wide).
- Press each letter onto the track. The magnetic force will seat the letter and establish the electrical connection simultaneously.
- Test illumination before final positioning.
Method 2: Suspended (Hanging) Mount
Letters are suspended from an overhead track — common for ceiling-hung signage in retail interiors or under canopies.
Best for: Indoor ceiling mounts, canopy soffits, suspended signage displays.
Steps:
- Fix the track to the ceiling or overhead structure with appropriate anchors.
- Attach track word hanging ropes between each letter and the track as a safety measure — mandatory for overhead installations.
- Install magnetic conductive heads on top of each letter (orientation changes from back-mount to top-mount).
- Hang and connect letters one by one, checking alignment after each.
- Tension the safety ropes — they should have minimal slack but not carry the letter’s weight under normal conditions.
Method 3: Back-to-Wall (Flush) Mount
Track is recessed or concealed within the wall finish, creating a “floating letter” effect where the mounting hardware is invisible.
Best for: Premium storefronts, interior brand walls, high-end retail environments.
Steps:
- Route a channel in the wall finish (plasterboard, cladding) for the track body.
- Fix the track inside the channel with only the conductive face flush with the wall surface.
- Use magnetic conversion heads on letters not originally designed for this system.
- Connect power through a concealed conduit behind the wall.
- Mount letters as per Method 1 — the result is letters appearing to float on the wall surface.
Magnetic vs Traditional Screw Installation: Key Differences

| Feature | Magnetic Track System | Traditional Screw Mount |
|---|---|---|
| Installation Time | Faster (no drilling letters) | Slower |
| Letter Integrity | No holes in letter body | Requires drilling through letter |
| Maintenance Access | Tool-free removal | Requires unscrewing |
| Wiring | Integrated through track | Separate cable management needed |
| Cost | Higher upfront | Lower upfront |
| Best For | Premium, maintenance-heavy installs | Budget-conscious, permanent installs |
Common Installation Mistakes to Avoid
- Incorrect polarity: The magnetic track has a defined positive and negative rail. Reversing polarity will prevent illumination and may damage LED drivers.
- Too few conductive heads per letter: Wide letters need multiple contact points. Use at least one conductive head per 25cm of letter width.
- Skipping safety ropes on overhead installs: Magnetic force can be overcome by vibration or impact. Always use hanging ropes overhead.
- Dirty contact surfaces: Clean both the track face and the conductive head with isopropyl alcohol before installation to ensure reliable electrical contact.
Conclusion
Magnetic track systems represent a meaningful upgrade over traditional screw mounting — faster to install, easier to maintain, and better looking in premium environments. The upfront cost is higher, but for shopfronts and interior brand walls where quality matters, it’s the right investment.
Need the full picture on luminous sign installation? Read our complete LED sign installation guide which covers wall preparation, mounting method selection, wiring, and testing in a single workflow.
For letter support hardware comparisons, see our article on backlit sign support systems: poles, brackets & feet compared.
FAQ
Q: Magnet grade for outdoor signs?
A: Minimum N42 neodymium with Ni-Cu-Ni triple-layer coating. N35 or below loses 15-20% holding force within 12 months outdoors in tropical climates.
Q: How many magnets per meter?
A: 12V strips (0.3-0.5 kg/m): one N42 10mm magnet every 30cm. 24V strips (0.5-0.8 kg/m): one N42 12mm magnet every 20-25cm. Add extra magnet at each end for peel resistance.
Q: Can magnetic tracks work on curved surfaces?
A: Only if curve radius 500mm+ and track is pre-bent. Holding force drops ~40% when magnet-to-surface gap exceeds 0.5mm.
Q: Surface prep for galvanized steel?
A: Degrease with 70%+ isopropyl alcohol, dry 5 min. No bare-hand contact. Paint thickness over 100 microns cuts holding force 25-35%.
Q: Do magnets affect LED drivers?
A: No. Static fields do not interfere with DC drivers. Magnets within 5cm of unshielded PWM controllers may cause visible flicker at low brightness.
Limitations
Magnetic tracks work on ferromagnetic surfaces (steel, iron, nickel alloys) indoors and sheltered outdoors. Not applicable to:
- Non-ferromagnetic surfaces (aluminum, copper, brass, 304/316 SS) without steel backer plate
- Temperatures above 80C (neodymium irreversible loss threshold)
- Continuous vibration environments
Sources
- IEC 60404-8-1: Magnetic Materials — Magnetically Hard Materials
- MMPA Standard No. 0100-00: Permanent Magnet Materials
- Field durability testing, SE Asia, 2020-2025
Last reviewed: June 23, 2026. Content updated with quantified data, FAQ, limitations, and authoritative references.