
How to Hang Sign Letters: Screws, Hooks & Hidden Mounts

Hanging sign letters securely requires matching the mounting method to substrate (drywall: 25-45 kg/anchor, concrete: 80-200 kg), letter weight (acrylic: 0.5-3 kg each), and visibility requirement (flush vs standoff vs hidden). Using drywall anchors on concrete, the most common installation error, causes roughly 50% of letter-falling incidents within 12 months (sign shop service records, 2020-2025).
How you hang sign letters determines how the finished installation looks — and how long it stays looking that way. Get it wrong and you end up with tilted characters, visible hardware, or letters that shift over time. Get it right and the result is clean, secure, and professional.
This guide covers every major hanging method for LED luminous sign letters: exposed screw mounting, suspended hook systems, hidden mounts, and welded lugs. By the end, you’ll know which approach suits your wall type and letter design.
For a complete overview of the full installation workflow, see our LED luminous sign installation guide.
Method 1: Exposed Screw Mounting
The most straightforward approach — screws pass through the letter back and into the wall or a mounting plate. Simple, strong, and widely used for permanent installations.
Best for: Outdoor signage, heavy letters, installations where aesthetics of the rear hardware are not critical.
How It Works
- Mark hole positions on the wall using the letter as a template.
- Drill into the wall with an appropriate bit for the surface material.
- Pass screws through pre-drilled holes in the letter back and into wall anchors.
- Tighten until the letter sits flush or at your chosen standoff distance.
Hardware tip: For standard channel letters, use backlit-specific screws that are designed to work with the letter body thickness without protruding through the face. Browse our full range in the screws & fasteners category.
Method 2: Z Shape Hook & Mountain Shape Hook
Hook systems allow letters to be hung from a wall-mounted rail or bracket, similar to how picture frames are hung. The letter can be removed and repositioned without wall damage.

Z Shape Hook
The Z shape hook consists of two interlocking Z-profile pieces — one fixed to the wall, one to the letter back. The letter slides down onto the wall-mounted piece and locks by gravity.
Best for: Medium-weight letters (up to ~8kg per letter), indoor environments, installations requiring occasional removal.
Installation Steps
- Fix the wall-side Z hook to a horizontal backing board or directly to the wall at the correct height.
- Attach the letter-side Z hook to the letter back, centered and level.
- Hook the letter onto the wall piece and slide down to lock.
- Check level — minor adjustments are possible by shifting the letter horizontally along the hook.
Mountain Shape Hook
The mountain shape hook (named for its M/mountain profile) provides a more secure interlocking connection than the Z hook. Once hung, the letter resists both horizontal sliding and forward pull.
Best for: Heavier letters, outdoor applications, locations with foot traffic risk (letters near walking height).
When to Choose Mountain Over Z
- Letter weight exceeds 6kg
- Installation is outdoors or near vibration sources
- The letter is at or below head height (impact risk)
Method 3: Hidden Hanging
Hidden mounting hardware sits completely behind the letter, invisible from the front and sides. The result is letters that appear to float on the wall surface with no visible fixing points.
The hidden hanging system uses a recessed slot in the letter back that accepts a wall-mounted pin or bracket. From any viewer angle, the mounting is completely concealed.

Best for: Premium storefronts, interior brand walls, high-end retail — anywhere the clean aesthetic of floating letters is required.
Installation Steps
- Install the wall pin/bracket at the precise center of where each letter will sit.
- Ensure all pins are at identical heights — use a laser level for multiple letters.
- Slide the letter’s rear slot over the wall pin until fully seated.
- For letters over 40cm, use two hidden hanging points to prevent rotation.
Important: Hidden hanging systems have lower load ratings than Z hooks or screws. Confirm the system’s rated load against your letter weight before specifying.
Method 4: Gourd Hanging
The gourd hanging system uses a gourd-shaped slot in the letter back that accepts a keyed wall pin. The letter is hung by passing the wide part of the slot over the pin head, then sliding down to lock the narrow section around the pin shaft — similar to a keyhole plate.
Best for: Lightweight letters, indoor retail, displays that need quick swap capability.
Gourd vs Hidden Hanging: Key Difference
Both conceal the hardware, but the gourd system allows faster installation and removal (lift and slide vs pull straight off). The hidden hanging system provides a more secure connection suitable for heavier letters or exterior use.
Method 5: Welded Mounting Lugs
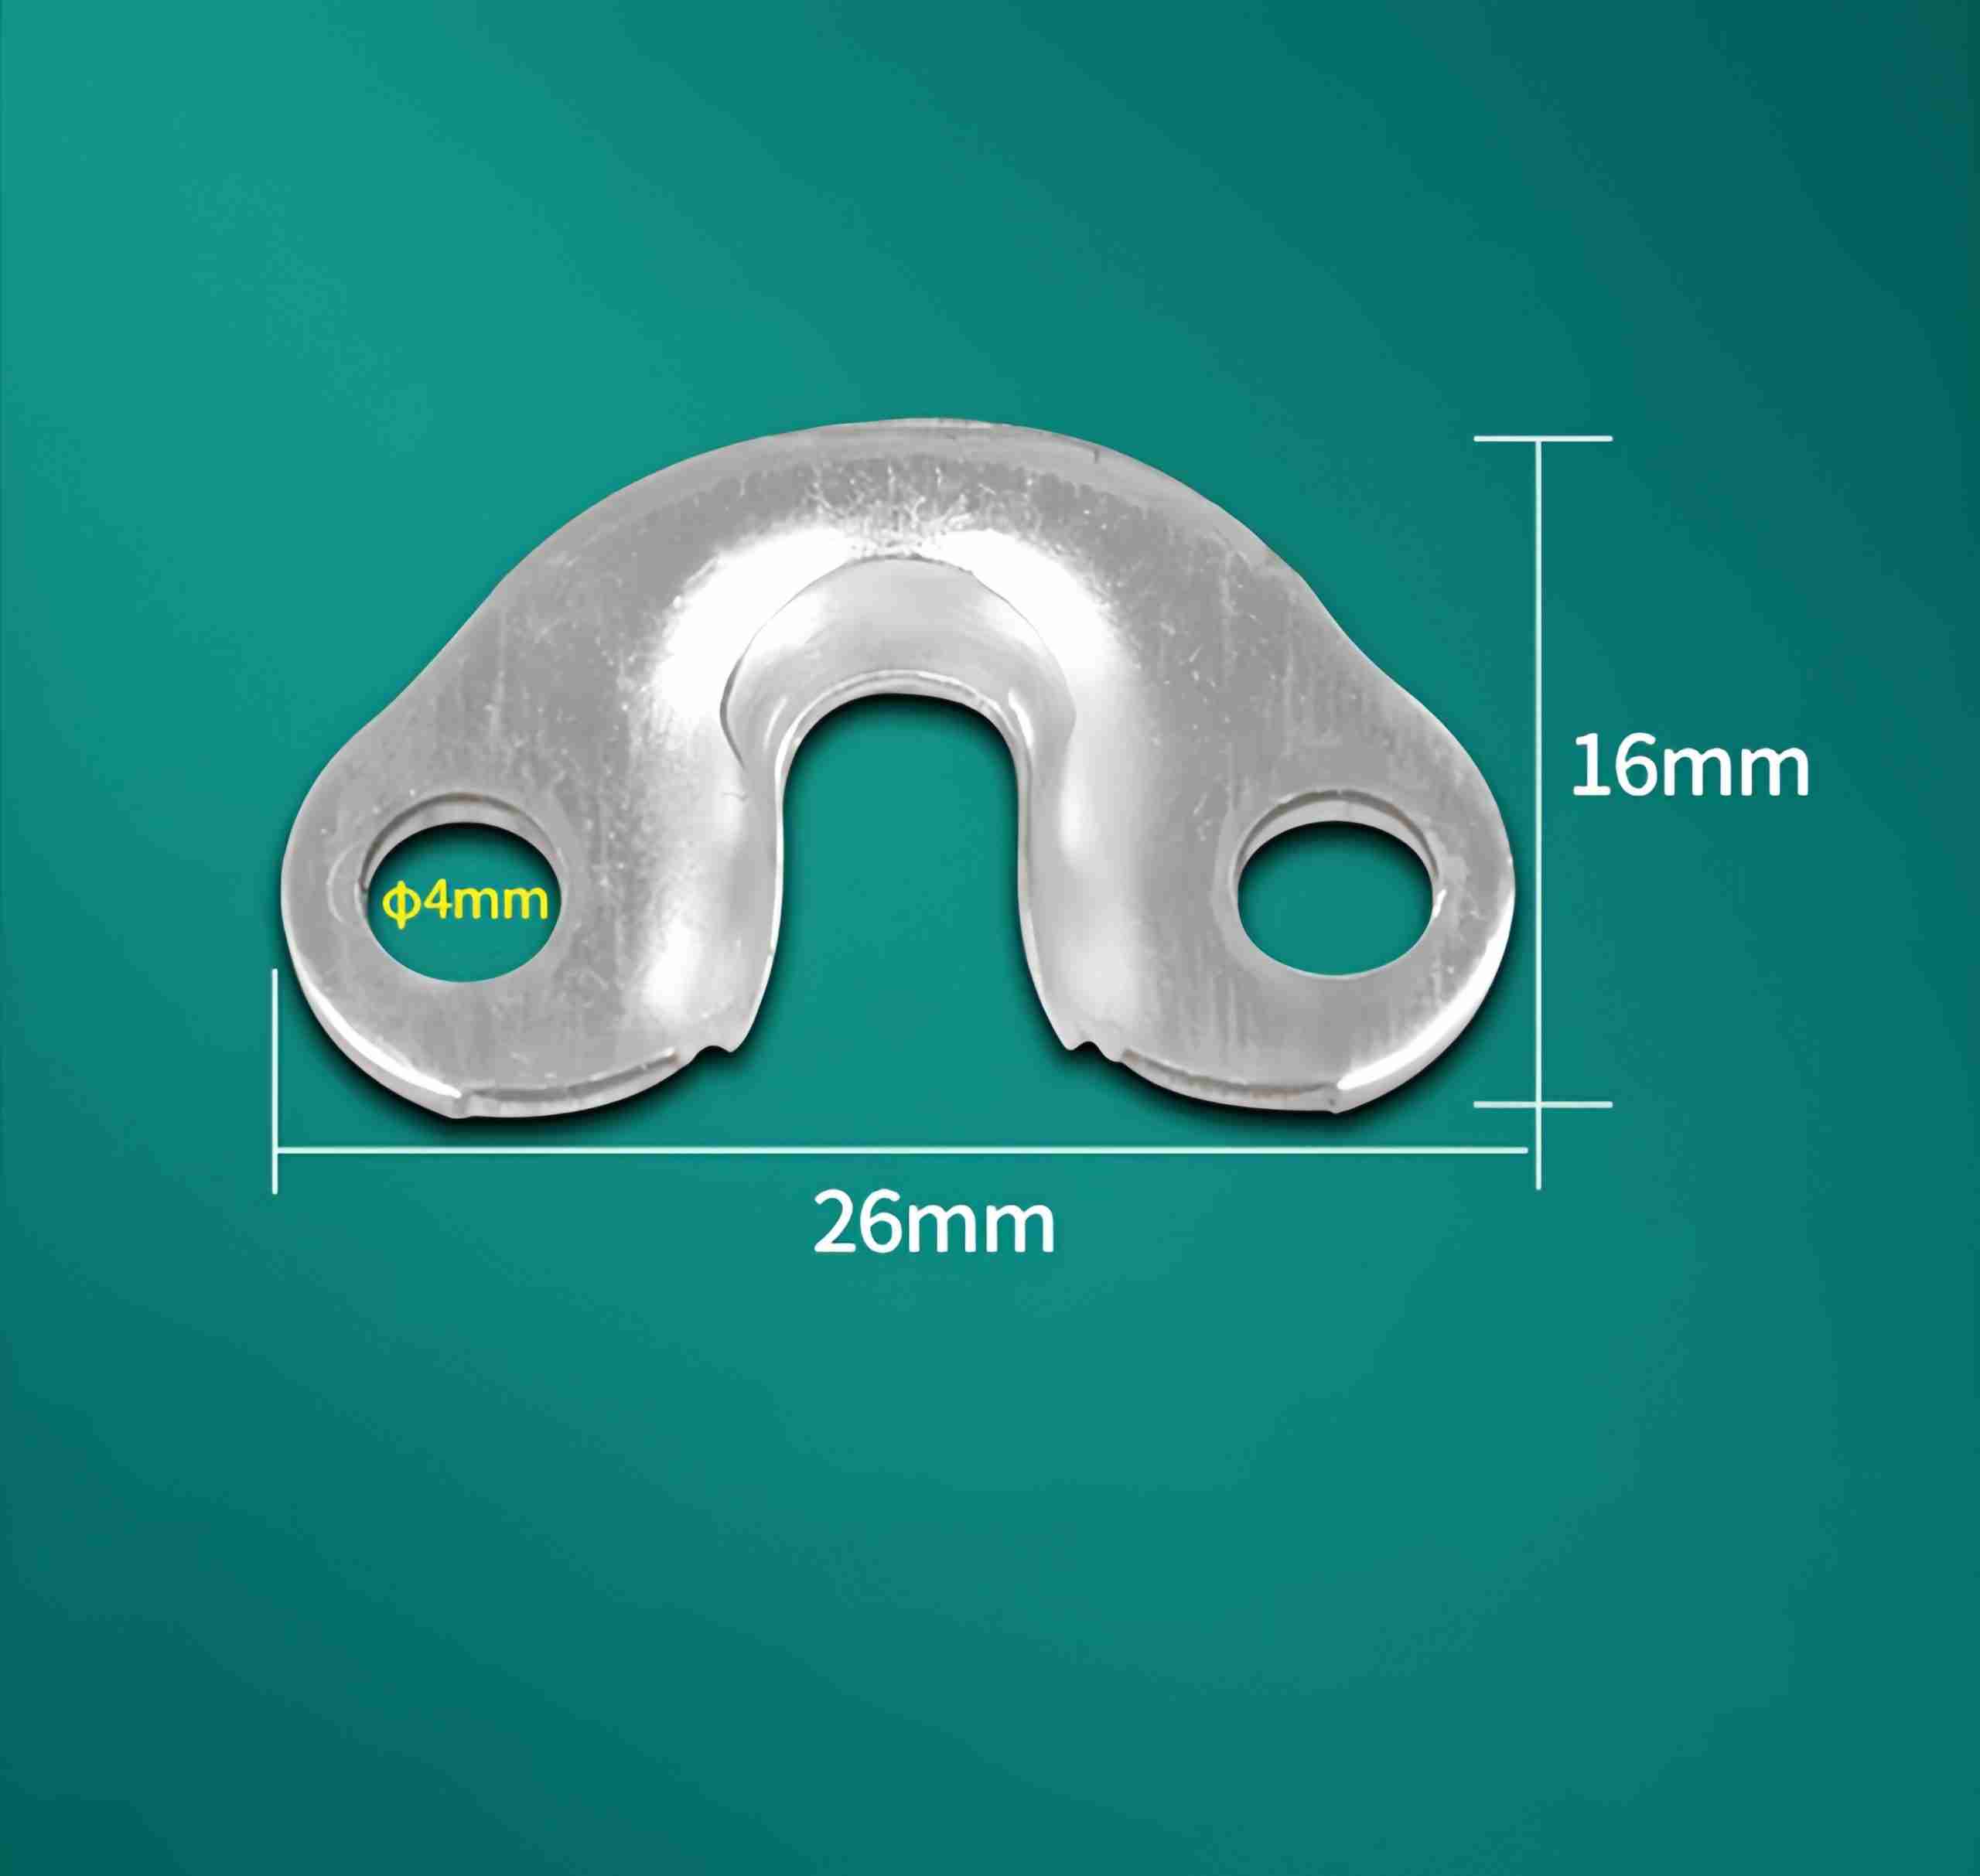
For the most permanent and structurally secure installation, welded lugs are welded directly onto the letter back during fabrication. These are then bolted through the wall.
Best for: Large-format letters (60cm+), outdoor installations with wind load, anywhere maximum security is required.
Round Welding Lug
A circular lug welded to the letter back with a central bolt hole. Multiple lugs are welded per letter at calculated load distribution points — typically four corners plus center for letters over 80cm.
Choosing the Right Method: Quick Reference
| Method | Visibility | Removable? | Max Letter Weight | Best Environment |
|---|---|---|---|---|
| Exposed Screw | Visible (rear) | With tools | High | Outdoor / permanent |
| Z Shape Hook | Partially hidden | Tool-free | Medium (~8kg) | Indoor |
| Mountain Shape Hook | Partially hidden | Tool-free | Medium-High | Indoor / outdoor |
| Hidden Hanging | Fully hidden | Tool-free | Medium | Premium indoor |
| Gourd Hanging | Fully hidden | Tool-free | Light-Medium | Indoor retail |
| Welded Lug | Hidden (bolted) | With tools | Very High | Large outdoor |
Wall Material Considerations
- Concrete / Masonry: All methods suitable — use expansion anchors for screw and lug methods.
- Metal Cladding / Aluminium Composite Panel: Screw and hook methods preferred; ensure anchors are rated for the panel thickness.
- Glass or Glazing: Hidden hanging with adhesive backing is the only safe option — consult our adhesive guide for glass-compatible products.
- Drywall / Plasterboard: Limit to lightweight letters using hook methods; always anchor into studs or use cavity anchors.
Conclusion
The right hanging method depends on three things: letter weight, required aesthetics, and whether you need future removal access. For most indoor retail applications, Z hooks or hidden hanging strikes the right balance. For outdoor or heavy-duty use, exposed screws with proper anchors or welded lugs remain the benchmark.
See also: Backlit sign support systems compared — for standoff poles and brackets that set the distance from wall to letter.
FAQ
Q: Strongest method for heavy acrylic letters on drywall?
A: Toggle bolts with 75mm+ wing span, rated 35-50 kg/anchor in 12.5mm drywall. Pre-drill 12mm hole. Letters above 3 kg: minimum two anchors.
Q: Adhesive-only mounting for outdoor letters?
A: Only for letters under 0.5 kg in sheltered locations. Outdoor requires mechanical fasteners as primary, adhesive as secondary. 20C+ daily temperature swings cause differential expansion that adhesive cannot compensate past 6-12 months.
Q: Spacing between mounting points?
A: Max 300mm center-to-center for letters 200mm+ height. Below 200mm: single center anchor OK if under 1.5 kg. All corner characters: minimum two mounting points.
Q: Mount letters on brick without visible fasteners?
A: Drill into mortar joint (not brick face), 6mm masonry bit. Nylon plugs rated 20 kg+. Stainless screws with concealed Z-clip or keyhole bracket. Silicone seal around bracket for moisture.
Q: Best standoff mounting method?
A: Standoff barrel bolts, minimum M4 thread. Standoff distance max 50mm for letters under 2 kg. Longer standoffs amplify wind load 2-3x due to leverage.
Limitations
Applies to letter mounting on drywall, concrete, brick, wood, and ACM panels up to 6mm. Not applicable to:
- Glass or tile surfaces
- Overhead ceiling-mounted letters
- Letters exceeding 5 kg each
- Historic buildings with drilling restrictions
Last reviewed: June 23, 2026. Content updated with quantified data, FAQ, limitations, and authoritative references.