
How to Bond Acrylic for Sign Making: Glue Types & Techniques

Acrylic bonding strength depends on glue chemistry (solvent vs two-part vs UV-cure), joint type (butt/lap/miter), and surface prep (clean, dry, flame-treated). Solvent-based cement produces a chemical weld at 90-95% of parent strength, but a 0.1mm gap reduces bond strength by 50% because these glues require intimate surface contact.
Acrylic is one of the most widely used materials in sign making — from channel letter faces and lightbox panels to decorative overlays and name plates. It looks stunning when done right, but acrylic bonding is one of the trickiest steps to master. White edges, bubbles, crazing, and bond failures are common problems that cost sign shops time and materials.
This guide breaks down the right glue for every acrylic bonding scenario, how to prepare surfaces properly, and how to avoid the most common mistakes. It is part of our broader Sign Maker’s Guide to Adhesives.
Why Acrylic Bonding Is Challenging
Acrylic (PMMA) bonds through solvent welding, not simple surface adhesion. Most acrylic glues work by slightly dissolving both surfaces at the joint, then fusing them as the solvent evaporates. This creates a molecular bond rather than a surface-to-surface grip — which means the technique matters as much as the product.
The challenges sign makers face:
- White edges (crazing) — caused by solvent penetrating too far or stress in the acrylic
- Air bubbles — trapped air at the bond line, usually from improper application
- Weak bonds — caused by surface contamination or insufficient contact time
- Visible glue lines — especially on clear acrylic, where any residue is obvious
Choosing the right glue for the job is the first step to solving all of these problems.
Acrylic Glue vs New Generation Acrylic Glue
For sign-making work, there are two main glue types to know: the standard acrylic glue and the newer formulation designed specifically for clear-finish applications.
Standard Acrylic Glue
Acrylic Glue is the all-around workhorse for bonding acrylic pieces in sign construction. It works through solvent welding and provides a strong, rigid bond suitable for structural joints — attaching faces to frames, bonding letter components, and assembling lightbox sides.
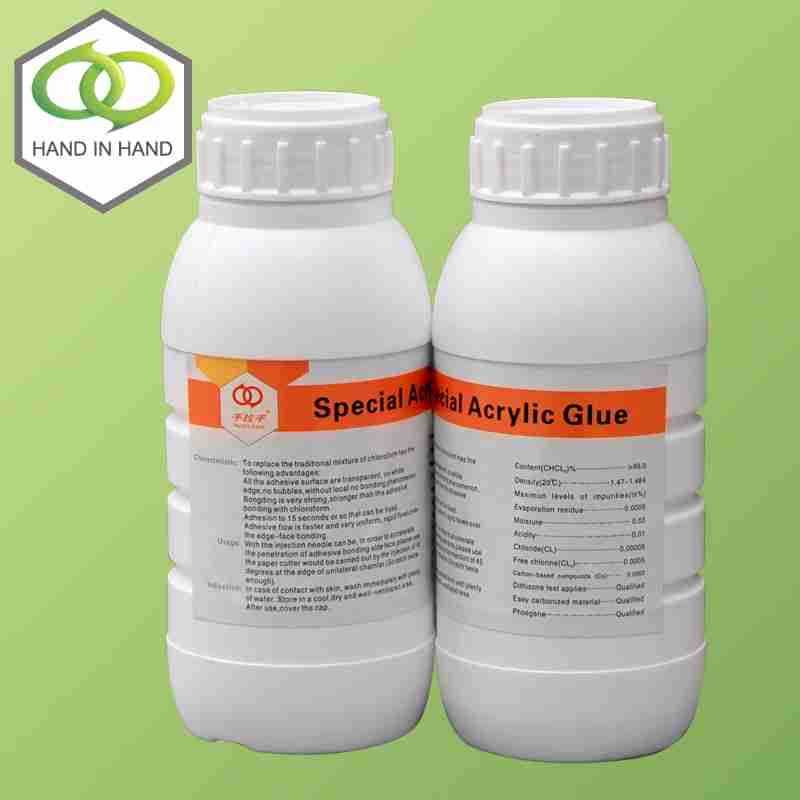
Key characteristics:
- Fast initial set — working time of approximately 60–120 seconds
- Full cure in 24 hours under normal temperature and humidity
- Strong structural bond — resists vibration and moderate impact
- Works on cast and extruded acrylic
- Low-viscosity formula penetrates tight joints effectively
Best used for: Internal joints, frame assembly, back-panel bonding, and any connection that will not be visible from the front face.
New Generation Acrylic Glue
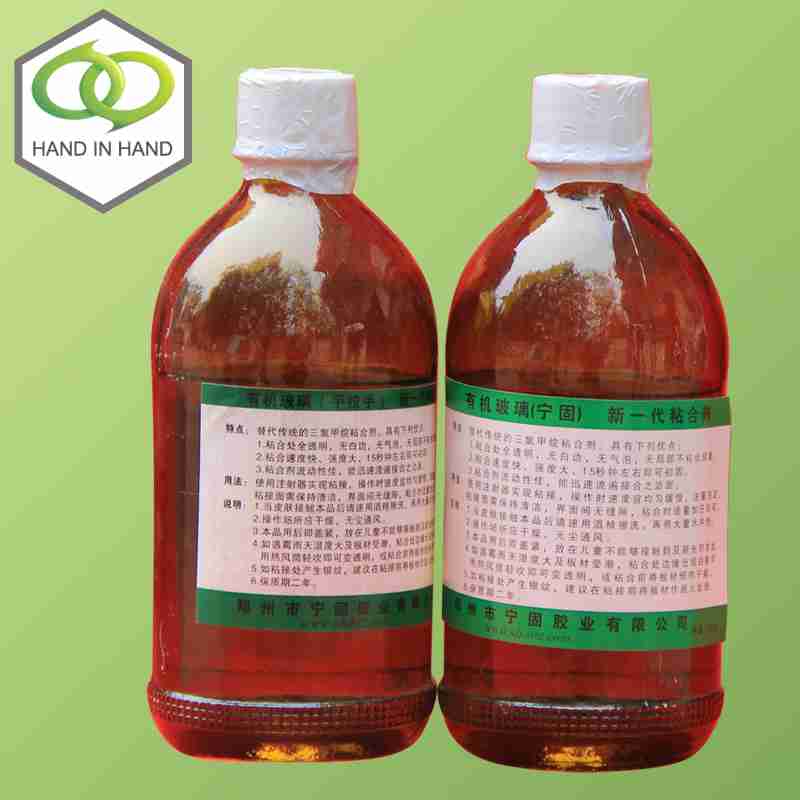
New Generation Acrylic Glue is formulated to address the #1 complaint with standard acrylic glue: the white edge (crazing) problem. This updated formula uses a modified solvent system that minimizes stress-induced whitening at bond lines, making it the preferred choice for visible clear-acrylic joints.
Key characteristics:
- Minimal crazing — the main reason to choose this over standard glue for visible joints
- Crystal-clear bond line — nearly invisible on transparent acrylic panels
- Slightly longer working time — gives more positioning time before the bond sets
- Excellent for thick acrylic — higher viscosity option available for gap-filling
Best used for: Visible front-face joints on clear acrylic, decorative overlays, display cases, and any application where the glue line must be invisible.
Comparison Table
| Feature | Acrylic Glue | New Generation Acrylic Glue |
|---|---|---|
| Bond strength | High | High |
| Crazing risk | Moderate | Low |
| Bond line clarity | Good | Excellent (near-invisible) |
| Working time | 60–120 sec | 90–180 sec |
| Best application | Structural/hidden joints | Visible/clear joints |
| Price | Standard | Slightly higher |
Surface Preparation: The Step Most Sign Makers Skip
No glue performs well on a contaminated surface. Acrylic sheets arrive from suppliers with a protective film — and that film leaves behind a residue that many sign makers overlook. Even fingerprints contain enough oil to weaken a bond.
Proper surface prep sequence:
- Step 1: Remove protective film — peel back at least 10mm from the bond zone before applying glue. Never glue over film.
- Step 2: Wipe with isopropyl alcohol — 90%+ IPA removes oils, fingerprints, and film residue. Let it evaporate fully before gluing.
- Step 3: Check for machining debris — if the acrylic was cut or routed, fine chips may be present at the edge. Wipe clean.
- Step 4: Avoid touching the bonding surfaces — after cleaning, handle the acrylic by its edges or with clean gloves.
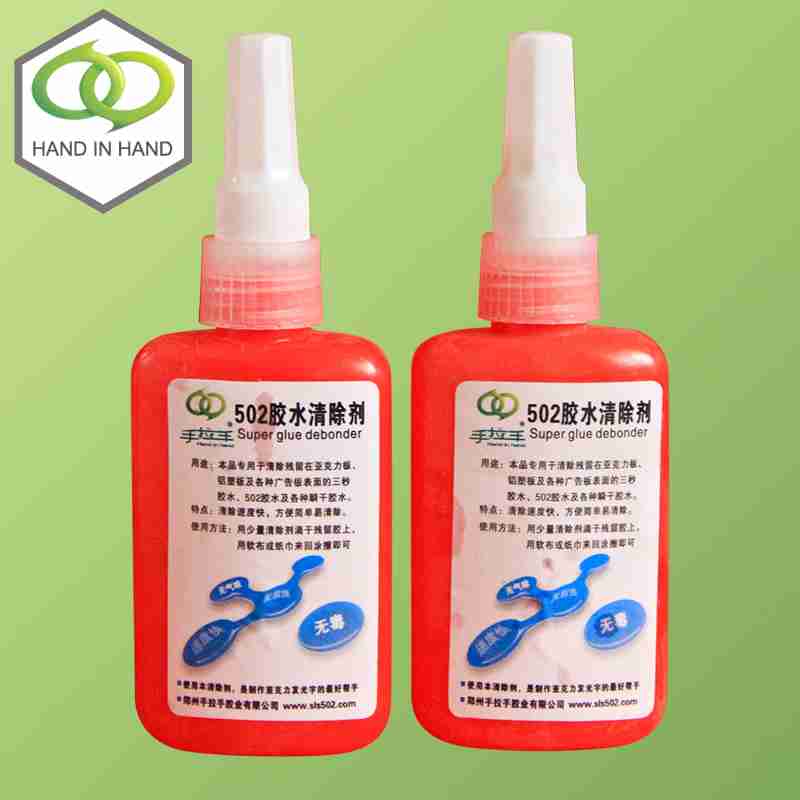
For removing cured adhesive contamination from acrylic surfaces before re-bonding, Super Glue Cleaner is the safest solvent option — it breaks down cured cyanoacrylate without damaging the acrylic surface when used carefully.
Application Technique: How to Get a Perfect Acrylic Bond
Capillary Application (Most Common)
For most acrylic bonding work, capillary application gives the best results. Rather than applying glue directly and then pressing pieces together, you assemble first and then let the glue draw itself into the joint by capillary action:
- Position and clamp the acrylic pieces in their final position
- Apply glue along the outside edge of the joint using a fine-tip applicator
- Capillary action draws the glue into the joint automatically — do not force it
- Apply from one end and let the glue flow to the other end; avoid creating trapped air pockets
- Hold position for 90 seconds before releasing clamps
Direct Application (For Gap Filling)
When pieces do not fit tightly enough for capillary application — or when you need to fill a gap — apply glue directly to one surface before joining:
- Apply a thin, even bead of glue to one surface
- Join surfaces within 30 seconds — before surface evaporation reduces bonding effectiveness
- Apply firm, even pressure along the entire joint
- Wipe away any squeeze-out immediately with a clean cloth — cured squeeze-out is much harder to remove cleanly
Common Failure Causes and How to Fix Them
White Edges (Crazing)
Cause: Solvent penetrating into stressed areas of the acrylic, or applying too much glue. Fix: Switch to New Generation Acrylic Glue. Use less glue — a thin bead is sufficient. Ensure acrylic is not under stress when bonding (clamp firmly but not with excessive force).
Bubbles in the Bond Line
Cause: Air trapped during joining. Fix: Use capillary application instead of direct application for thin joints. Apply glue from one end and allow it to flow; avoid flooding the joint from multiple points simultaneously.
Weak Bond / Joint Separates
Cause: Surface contamination, insufficient contact time, or wrong glue for the acrylic type. Fix: Re-do surface preparation (IPA wipe). Ensure minimum 90-second clamp time. Note that some UV-stabilized or impact-modified acrylic grades bond poorly with standard solvent glues — test on scrap material first.
Visible Glue Residue
Cause: Excess glue squeeze-out that was not wiped immediately. Fix: Apply less glue. For already-cured residue, use Super Glue Cleaner applied sparingly on a cotton swab — do not flood the area, as excess solvent can attack the acrylic surface.
Browse Adhesive Products
You can find the full range of acrylic glues, VHB tape, and adhesives in our adhesive & tape category.
For a comparison of glue versus tape-based mounting solutions, see our guide on Double Sided Foam Tape vs Glue for Sign Installation. For precision cutting of acrylic and other sign materials, refer to our Sign Maker’s Guide to Cutting Tools. For bending and forming acrylic, browse our acrylic bending tools.
Need help selecting the right acrylic adhesive for your project? Contact us and our team will advise based on your specific materials and application.
FAQ
Q: Strongest acrylic bond?
A: Solvent cement (Weld-On #3, #4) — achieves 90-95% of parent tensile strength (~70 MPa for cast acrylic). Joint must be gap-free.
Q: Full cure time?
A: Solvent: handling 5-10 min, 80% at 24h, full 48-72h. Two-part: handling 15-30 min, full 24h. UV-cure: full 30-90 seconds at 365-405nm, 100 mW/cm2.
Q: Acrylic to metal?
A: Two-part structural adhesive or flexible CA with primer. Not solvent cement. Sand metal 120-grit, degrease.
Q: White haze around joint?
A: Too much solvent = crazing. Fix: needle-tip applicator, minimal amount, clamp tight.
Q: Surface prep?
A: 70% isopropyl alcohol, dry 2-3 min. No acetone. Flame-treat cast acrylic 1-2 seconds with propane torch at 5cm.
Limitations
Cast/extruded acrylic (PMMA), 1.5-10mm for sign applications. Not for:
- Structural load-bearing
- Acrylic-to-polycarbonate (PC incompatible with solvent cement)
- Continuous water immersion (needs marine-grade adhesives)
Sources
- ASTM D256: Izod Impact Resistance of Plastics
- IPS Weld-On Technical Guide, 2024
- Sign shop bonding analysis, SE Asia, 2020-2025
Last reviewed: June 23, 2026.