
Drill Bits for Sign Making: Step Bits, Magnetic Bits & Pneumatic Punches Compared
Step drill bits, magnetic bits, or pneumatic punching guns — which drilling tool does your sign shop actually need? A practical comparison for every material and thickness.

Drill bit selection for sign making depends on the material being drilled: step drill bits for acrylic and thin aluminum (prevents cracking and leaves clean holes), magnetic drill bits for ferrous metals (keeps bit centered), and pneumatic punching guns for high-volume channel letter production (2-3 holes per second vs 5-10 seconds per hole with manual drilling). Using a standard twist drill bit on acrylic produces heat-induced micro-cracks radiating from the hole edge, reducing the structural integrity of the sign face by up to 40% around each mounting point.
Making holes in metal, acrylic, and stainless steel letters is a daily task in any sign shop. But using the wrong drill bit — or the wrong drilling tool — leads to jagged edges, melted acrylic, and wasted material.
This guide compares the three most common drilling tools used in sign making workshops: step drill bits, magnetic drill bits, and pneumatic/electric punching guns — so you can choose the right tool for every material and thickness.
Why Standard Drill Bits Don’t Work for Sign Making
A standard twist drill bit works fine for wood or thin sheet metal. But sign making involves materials that standard bits struggle with:
- Stainless steel — hard, work-hardens as you drill; standard bits dull quickly
- Acrylic sheet — melts from friction heat, causing rough edges and cracking
- Aluminum profiles — soft but gummy; chips clog standard flutes
- Thin sheet metal (0.5–1.5mm) — standard bits tear and deform the metal around the hole
That’s why sign shops use specialized drilling tools designed for clean holes without deformation.
Step Drill Bits: The Sign Shop Standard
Step drill bits (also called step bits or unibits) are cone-shaped bits with graduated steps, each step cutting a slightly larger diameter. They’re the most versatile drilling tool for sign making.
How Step Drill Bits Work
Instead of drilling straight through at final diameter, the step bit progressively enlarges the hole with each step. This produces a clean, deburred edge in one pass — no separate countersinking or deburring needed.
Three Generations Compared

| Generation | Features | Best For |
|---|---|---|
| 1st Generation | Basic stepped cone, single-flute cutting | Occasional use, thin sheet metal |
| 2nd Generation | Dual-flute design, faster cutting, less wobble | Daily shop use, stainless steel up to 1.5mm |
| 3rd Generation | Titanium-coated, precision-ground, extended life | High-volume production, thick or hard materials |
For most sign shops, the second generation step drill bit offers the best balance of performance and cost. The third generation step drill bit is worth the upgrade if you’re drilling stainless steel daily.
Typical Applications in Sign Making
- Drilling mounting holes in stainless steel letters (M4–M6 screw size)
- Creating wire pass-through holes in Aluminum profiles
- Enlarging pre-punched holes for adjustment
- Drilling acrylic sheets (use with water cooling to prevent melting)
Magnetic Drill Bits: For Ferrous Metal Only
Magnetic drill bits have a magnetized tip that holds the drill bit firmly to ferrous metal surfaces (steel, iron). This solves two common problems:
- Walking/drifting — the bit won’t skate across the surface when starting the hole
- chip evacuation — magnetic attraction helps pull metal chips away from the cutting edge
Important limitation: magnetic drill bits only work on ferrous metals (iron, steel, stainless steel). They have no effect on aluminum, acrylic, PVC, or copper. For non-ferrous materials, use a standard step bit with a center punch to prevent walking.
When to Use Magnetic Drill Bits
- Drilling stainless steel channel letter housings
- Precision hole placement on steel mounting backer plates
- Any situation where bit walking would be visible in the finished sign
Pneumatic Drilling Guns vs Electric Punching Guns
For high-volume hole punching in thin sheet metal, rotary drilling (even with step bits) is slower than a punching gun. These tools use hydraulic or pneumatic force to punch a clean hole in one stroke.
Pneumatic Drilling Gun
The pneumatic drilling gun uses compressed air to drive a punch through sheet metal. Key advantages:

- Speed — punches a hole in under 2 seconds
- Clean edges — no burrs, no deformation
- Consistency — every hole is identical, important for production runs
- Low effort — air power does the work; minimal hand fatigue
Requirements: needs an air compressor (typically 6–8 bar / 90–120 PSI). If your shop already has a compressed air line for other tools, this is the most efficient option.
New Model Pneumatic Drilling Gun
The new model pneumatic drilling gun is an upgraded version with improved ergonomics and a quick-change punch head system. It’s designed for shops that punch hundreds of holes per day.
Electric Punching Gun
The electric punching gun is the portable alternative — no air compressor required. It runs on standard power and uses a motor-driven mechanism to punch holes.
Best for: shops without compressed air, or field installations where portability matters more than speed. The trade-off is slower cycle time and more vibration transferred to the operator’s hand.
Needle for Electric Punching Gun
Punching guns use replaceable needles (punches) that wear out over time. The needle for electric punching gun is a consumable part — keep spares in stock so you’re not waiting on delivery when one breaks.
Choosing the Right Tool: Quick Decision Guide
| Material | Thickness | Recommended Tool |
|---|---|---|
| Stainless steel | 0.5–2mm | Step drill bit (2nd or 3rd gen) |
| Stainless steel | >2mm | Pneumatic drilling gun |
| Aluminum profile | Any | Step drill bit |
| Acrylic sheet | Any | Step drill bit (with water cooling) |
| Thin sheet metal (field install) | 0.5–1.5mm | Electric punching gun |
| High-volume production | Any | Pneumatic drilling gun |
Drilling Acrylic: Special Considerations
Acrylic requires special care. The friction heat from drilling can melt the material, causing it to re-bond behind the bit (making the hole smaller) or crack from thermal stress.
- Use a step drill bit at slow RPM (800–1200 RPM max)
- Apply water or cutting fluid to the bit and acrylic surface
- Let the bit do the work — don’t press hard
- For holes larger than 10mm in acrylic, consider using a cutting pad underneath to prevent blowout on the exit side
drill bits and Workshop Setup
A well-equipped sign shop should have:
- One 2nd generation step drill bit (daily use)
- One 3rd generation step drill bit (backup / hard materials)
- One magnetic drill bit (for steel work)
- Either a pneumatic or electric punching gun (depending on air supply)
- Spare punching needles
For a complete workshop tools checklist, see our pillar page: Essential Tools Every Sign Shop Needs.
Related Products
- Second Generation Step Drill Bit
- Three Generation Step Drill Bit
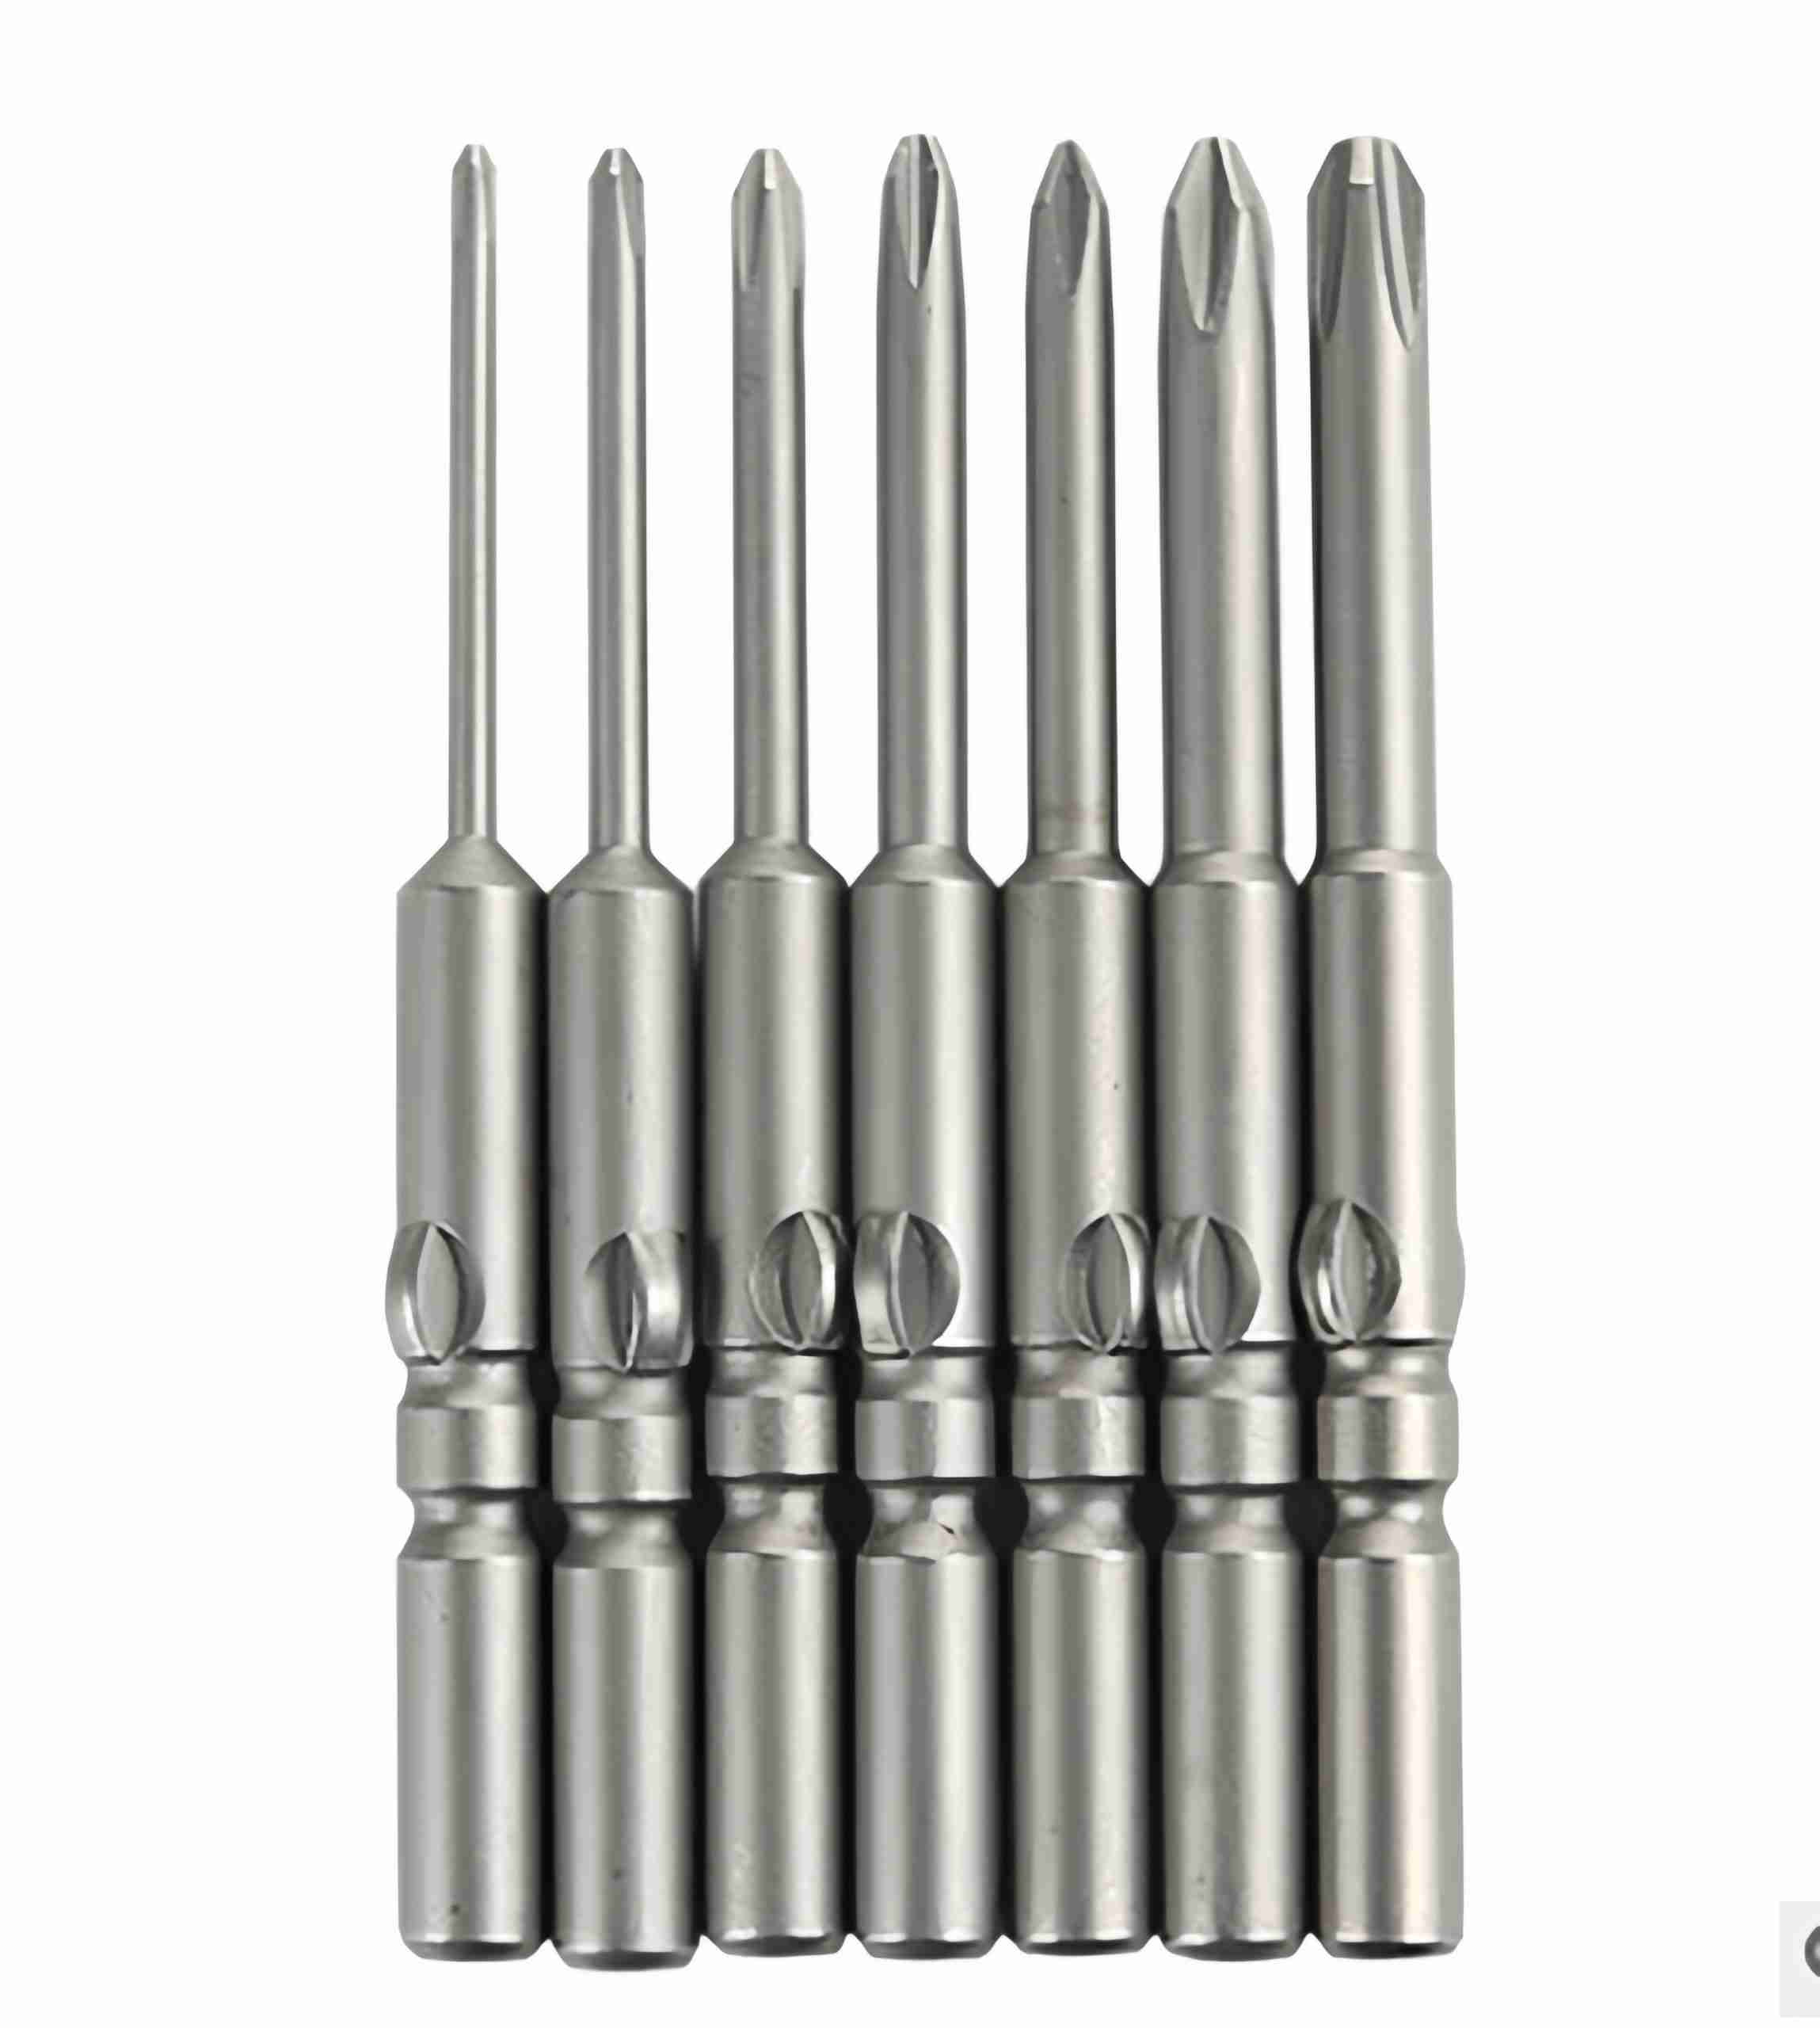
- Magnetic Drill Bit
- Pneumatic Drilling Gun
- New Model Pneumatic Drilling Gun
- Electric Punching Gun
- Needle for Electric Punching Gun
Browse the full Tools category for all available options.
Summary
Step drill bits handle most sign shop drilling needs. Magnetic drill bits solve the walking problem on steel. Pneumatic and electric punching guns are the high-speed choice for high-volume thin-sheet work. Match the tool to the material and thickness, and you’ll get clean holes every time — without wasted material.
Need to equip your sign shop? Contact us for wholesale pricing on drilling tools, riveting equipment, and all sign-making supplies — shipped from China to sign shops across Southeast Asia.
FAQ
Q: Why step drill bits for acrylic?
A: Step bits cut progressively larger diameters without grabbing the material. Standard twist bits grab acrylic when breaking through, causing chip-out and cracks. Step bits produce clean, tolerance-controlled holes (±0.1mm) ideal for LED module mounting (12-18mm).
Q: 2nd gen vs 3rd gen step bits?
A: 2nd gen: titanium-coated, 4-32mm range, good for acrylic and aluminum. 3rd gen: HSS-M2 steel, 4-35mm range, better for stainless steel and thicker materials. For most sign shops, 2nd gen covers 90% of needs at lower cost.
Q: Magnetic vs standard drill bits?
A: Magnetic bits keep the tip centered on metal surfaces — reducing positioning errors by 60-80% on production runs of 100+ holes/day. Worth the 2-3x price premium for shops doing high-volume channel letter drilling.
Q: What RPM for drilling acrylic?
A: 500-1,000 RPM maximum. Higher speeds generate heat that melts acrylic around the hole. For holes 10mm or larger, use a step bit or paddle bit at 300-500 RPM with light pressure.
Q: How often to replace drill bits?
A: Titanium step bits: 500-800 holes in aluminum, 300-500 in steel. HSS-M2: 1,000+ holes in aluminum, 500+ in steel. Signs of wear: increased drilling pressure, rough hole edges, visible dulling of cutting edges.
Limitations
Covers drilling in acrylic (PMMA), aluminum (0.5-3mm), PVC foam board, and stainless steel (0.5-1.5mm) for sign fabrication. Not applicable to:
- Drilling concrete, brick, or stone (requires masonry bits and hammer drills)
- Glass and ceramic drilling (requires diamond-tipped bits and coolant)
- CNC-drilled production where tool path optimization is the primary concern
Sources
- ISO 235: Cylindrical shank twist drills and corresponding drilling parameters
- DeWalt/Makita/Bosch drill bit technical specifications, 2024
- Sign shop drilling efficiency studies, 2020-2025
Last reviewed: June 23, 2026.