
How to Cut Neon LED Strips: Tools & Techniques

Cutting neon LED strips cleanly requires knowing whether the strip is silicone-coated or PVC-encased, and cutting only at designated solder pads. Cutting outside cut points permanently breaks the internal circuit; the wrong blade on silicone creates jagged edges leading to peeling within 3-6 months. A sharp utility blade at 30-degree angle slices silicone strips cleanly; PVC strips need a 45-degree angle and slower feed to avoid cracking.
Cutting neon LED strips looks simple — until you’ve ruined a strip with the wrong tool and left a jagged edge that won’t seal properly. The material is unforgiving: silicone and PVC neon strips both require clean, square cuts to maintain waterproofing, light consistency, and a professional finish.
This guide covers the right tools for the job, cutting technique for straight cuts and corners, and the most common mistakes sign makers make when working with flex neon.
For a broader look at cutting tools in the sign shop, see our sign maker’s guide to cutting tools.
Why Neon LED Strips Are Tricky to Cut
Unlike standard SMD LED strips that can be cut with scissors at marked intervals, neon LED strips — both silicone sleeve and PVC types — present three specific challenges:
- Continuous outer jacket: The silicone or PVC sleeve runs the full length of the strip. Cutting it poorly leaves a gap that collects moisture and debris.
- Circuit board alignment: The internal PCB must be cut at the designated cut marks, not between them. Cutting between marks severs active traces.
- Corner angles: Tight-radius corners in channel letter routing require angled cuts that standard box cutters can’t produce cleanly.
The Right Tool: Neon Light Knife
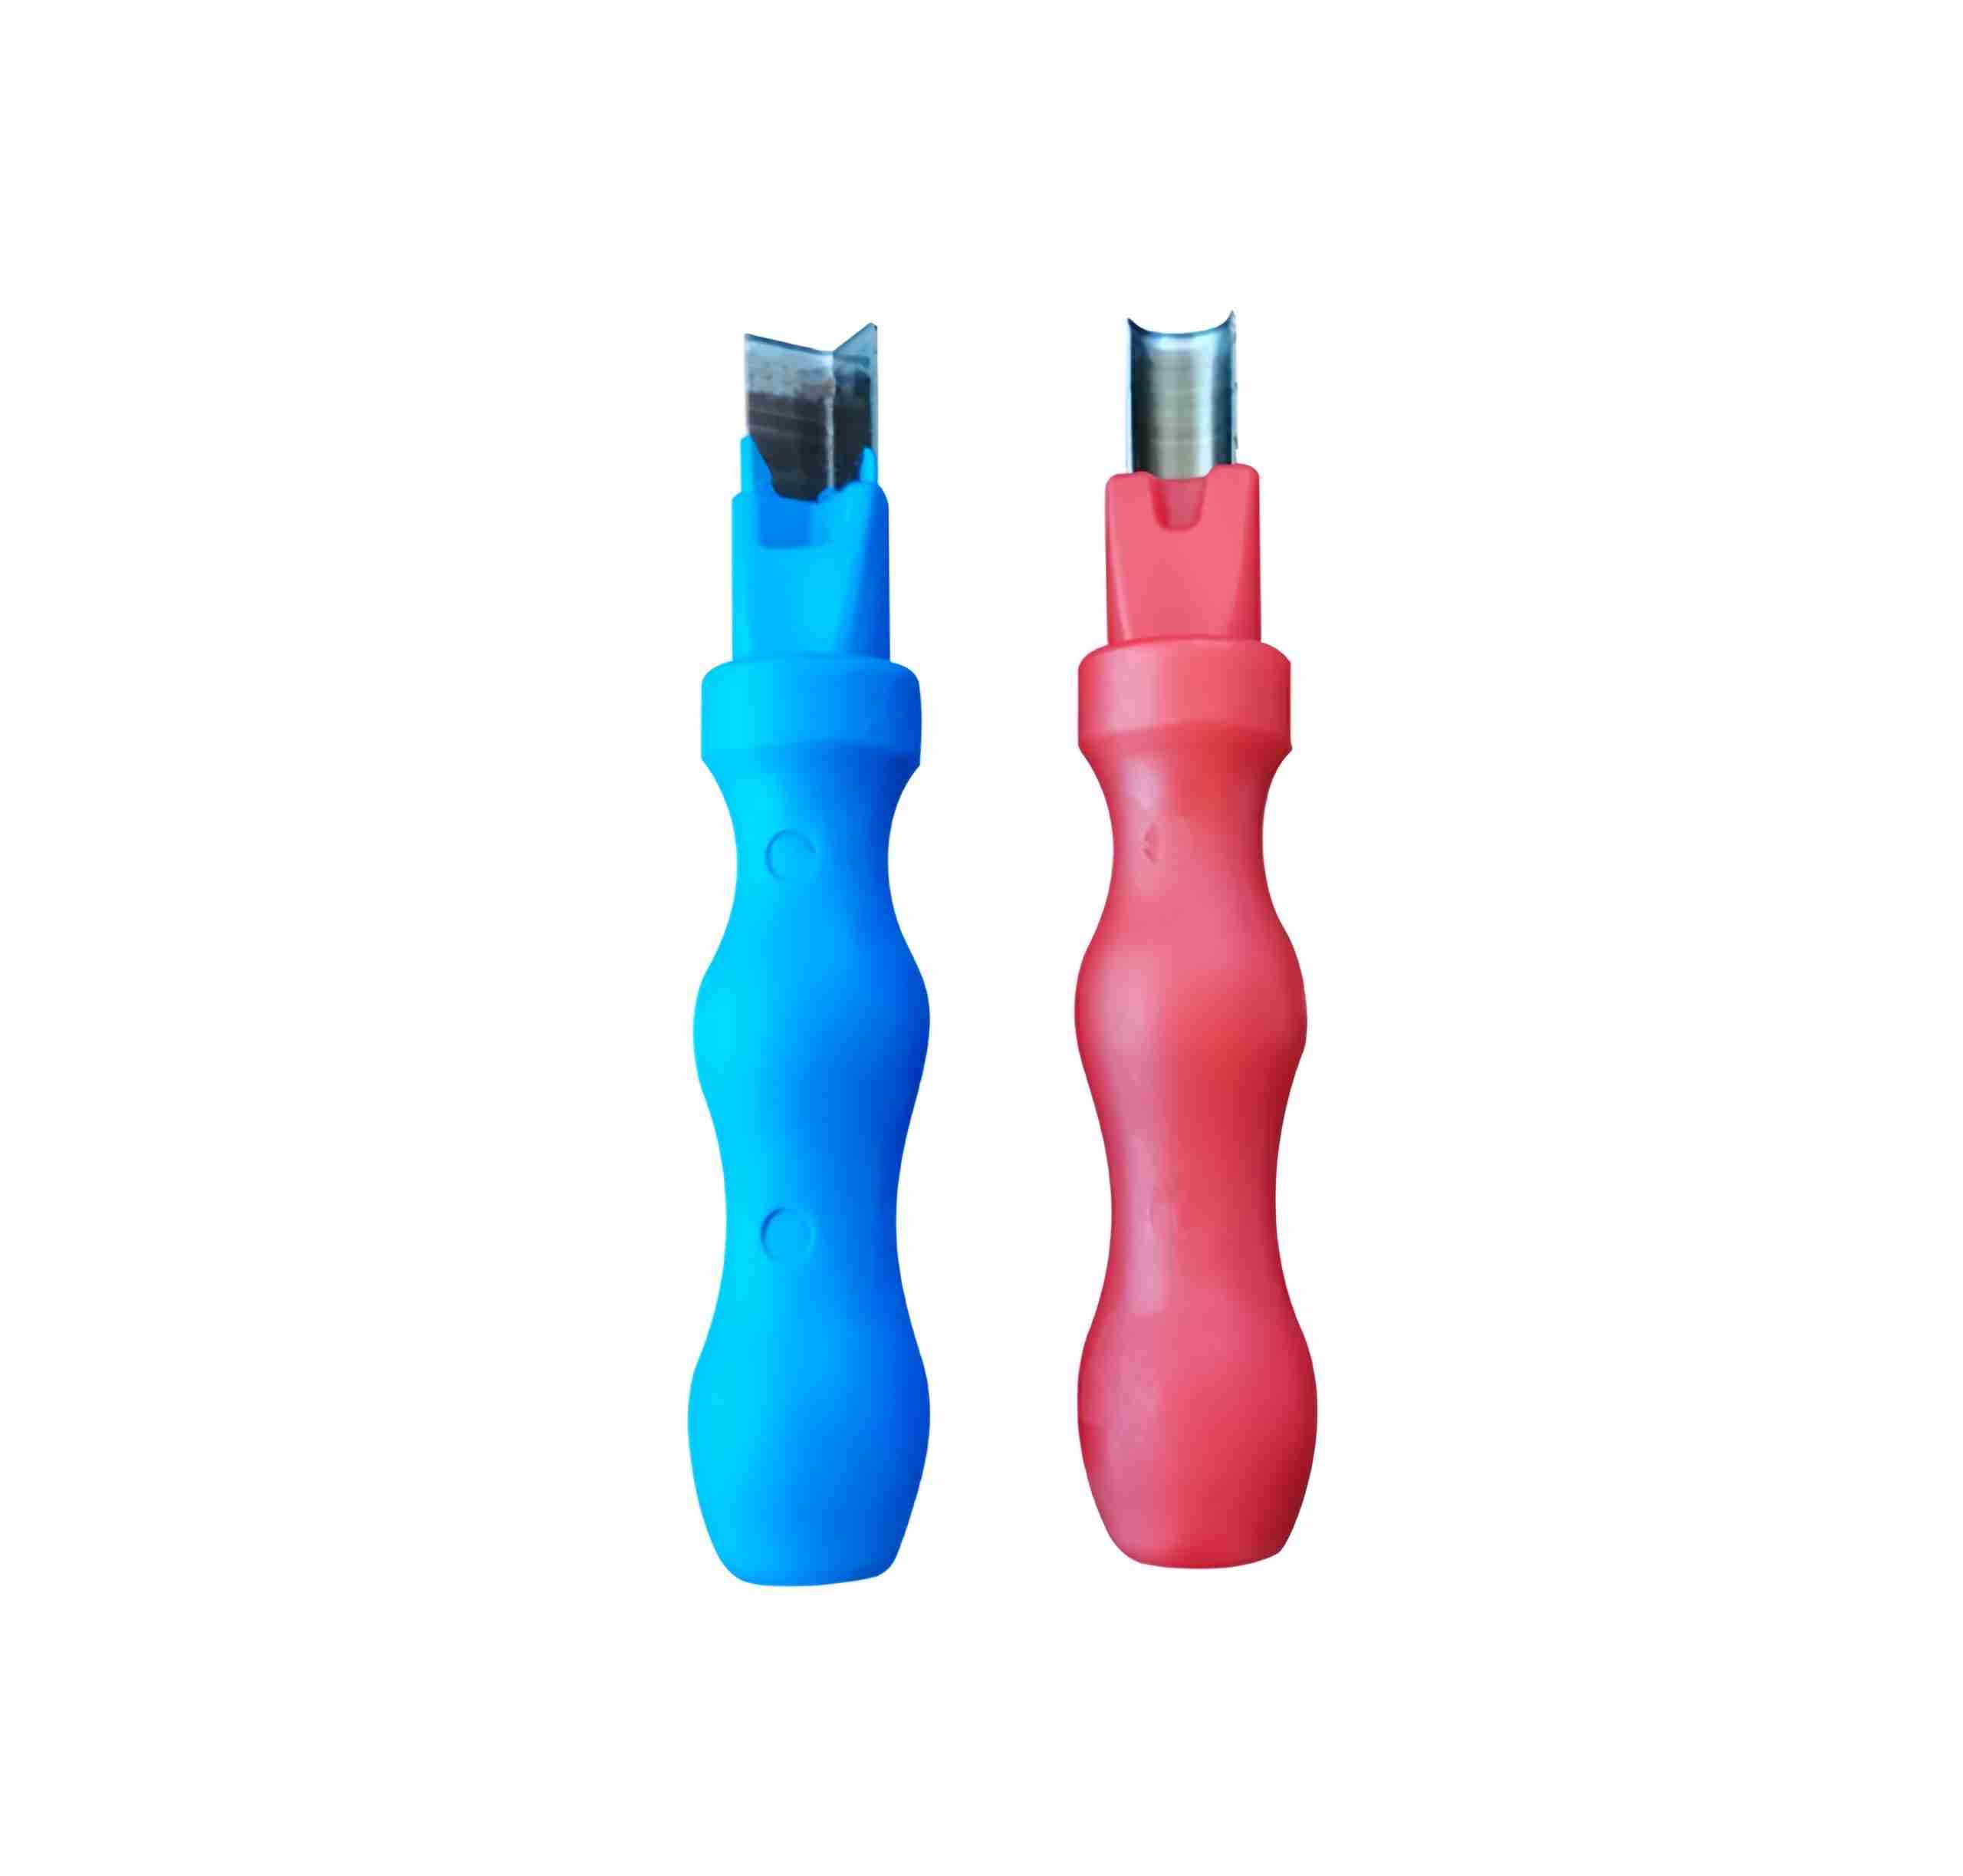
The neon light knife is purpose-designed for cutting flex neon strips. Its blade geometry allows it to cut through the silicone or PVC jacket in a single controlled stroke, leaving a flat, sealed edge rather than the compressed, ragged cut you get from scissors or standard utility blades.
Key Features
- Angled blade tip for controlled entry into the strip material
- Ergonomic grip designed for repeated cutting work
- Compatible with both silicone sleeve (round profile) and PVC flat neon strips
How to Cut a Straight Section
- Identify the nearest cut mark on the strip — these are typically every 50mm or 100mm depending on the strip type.
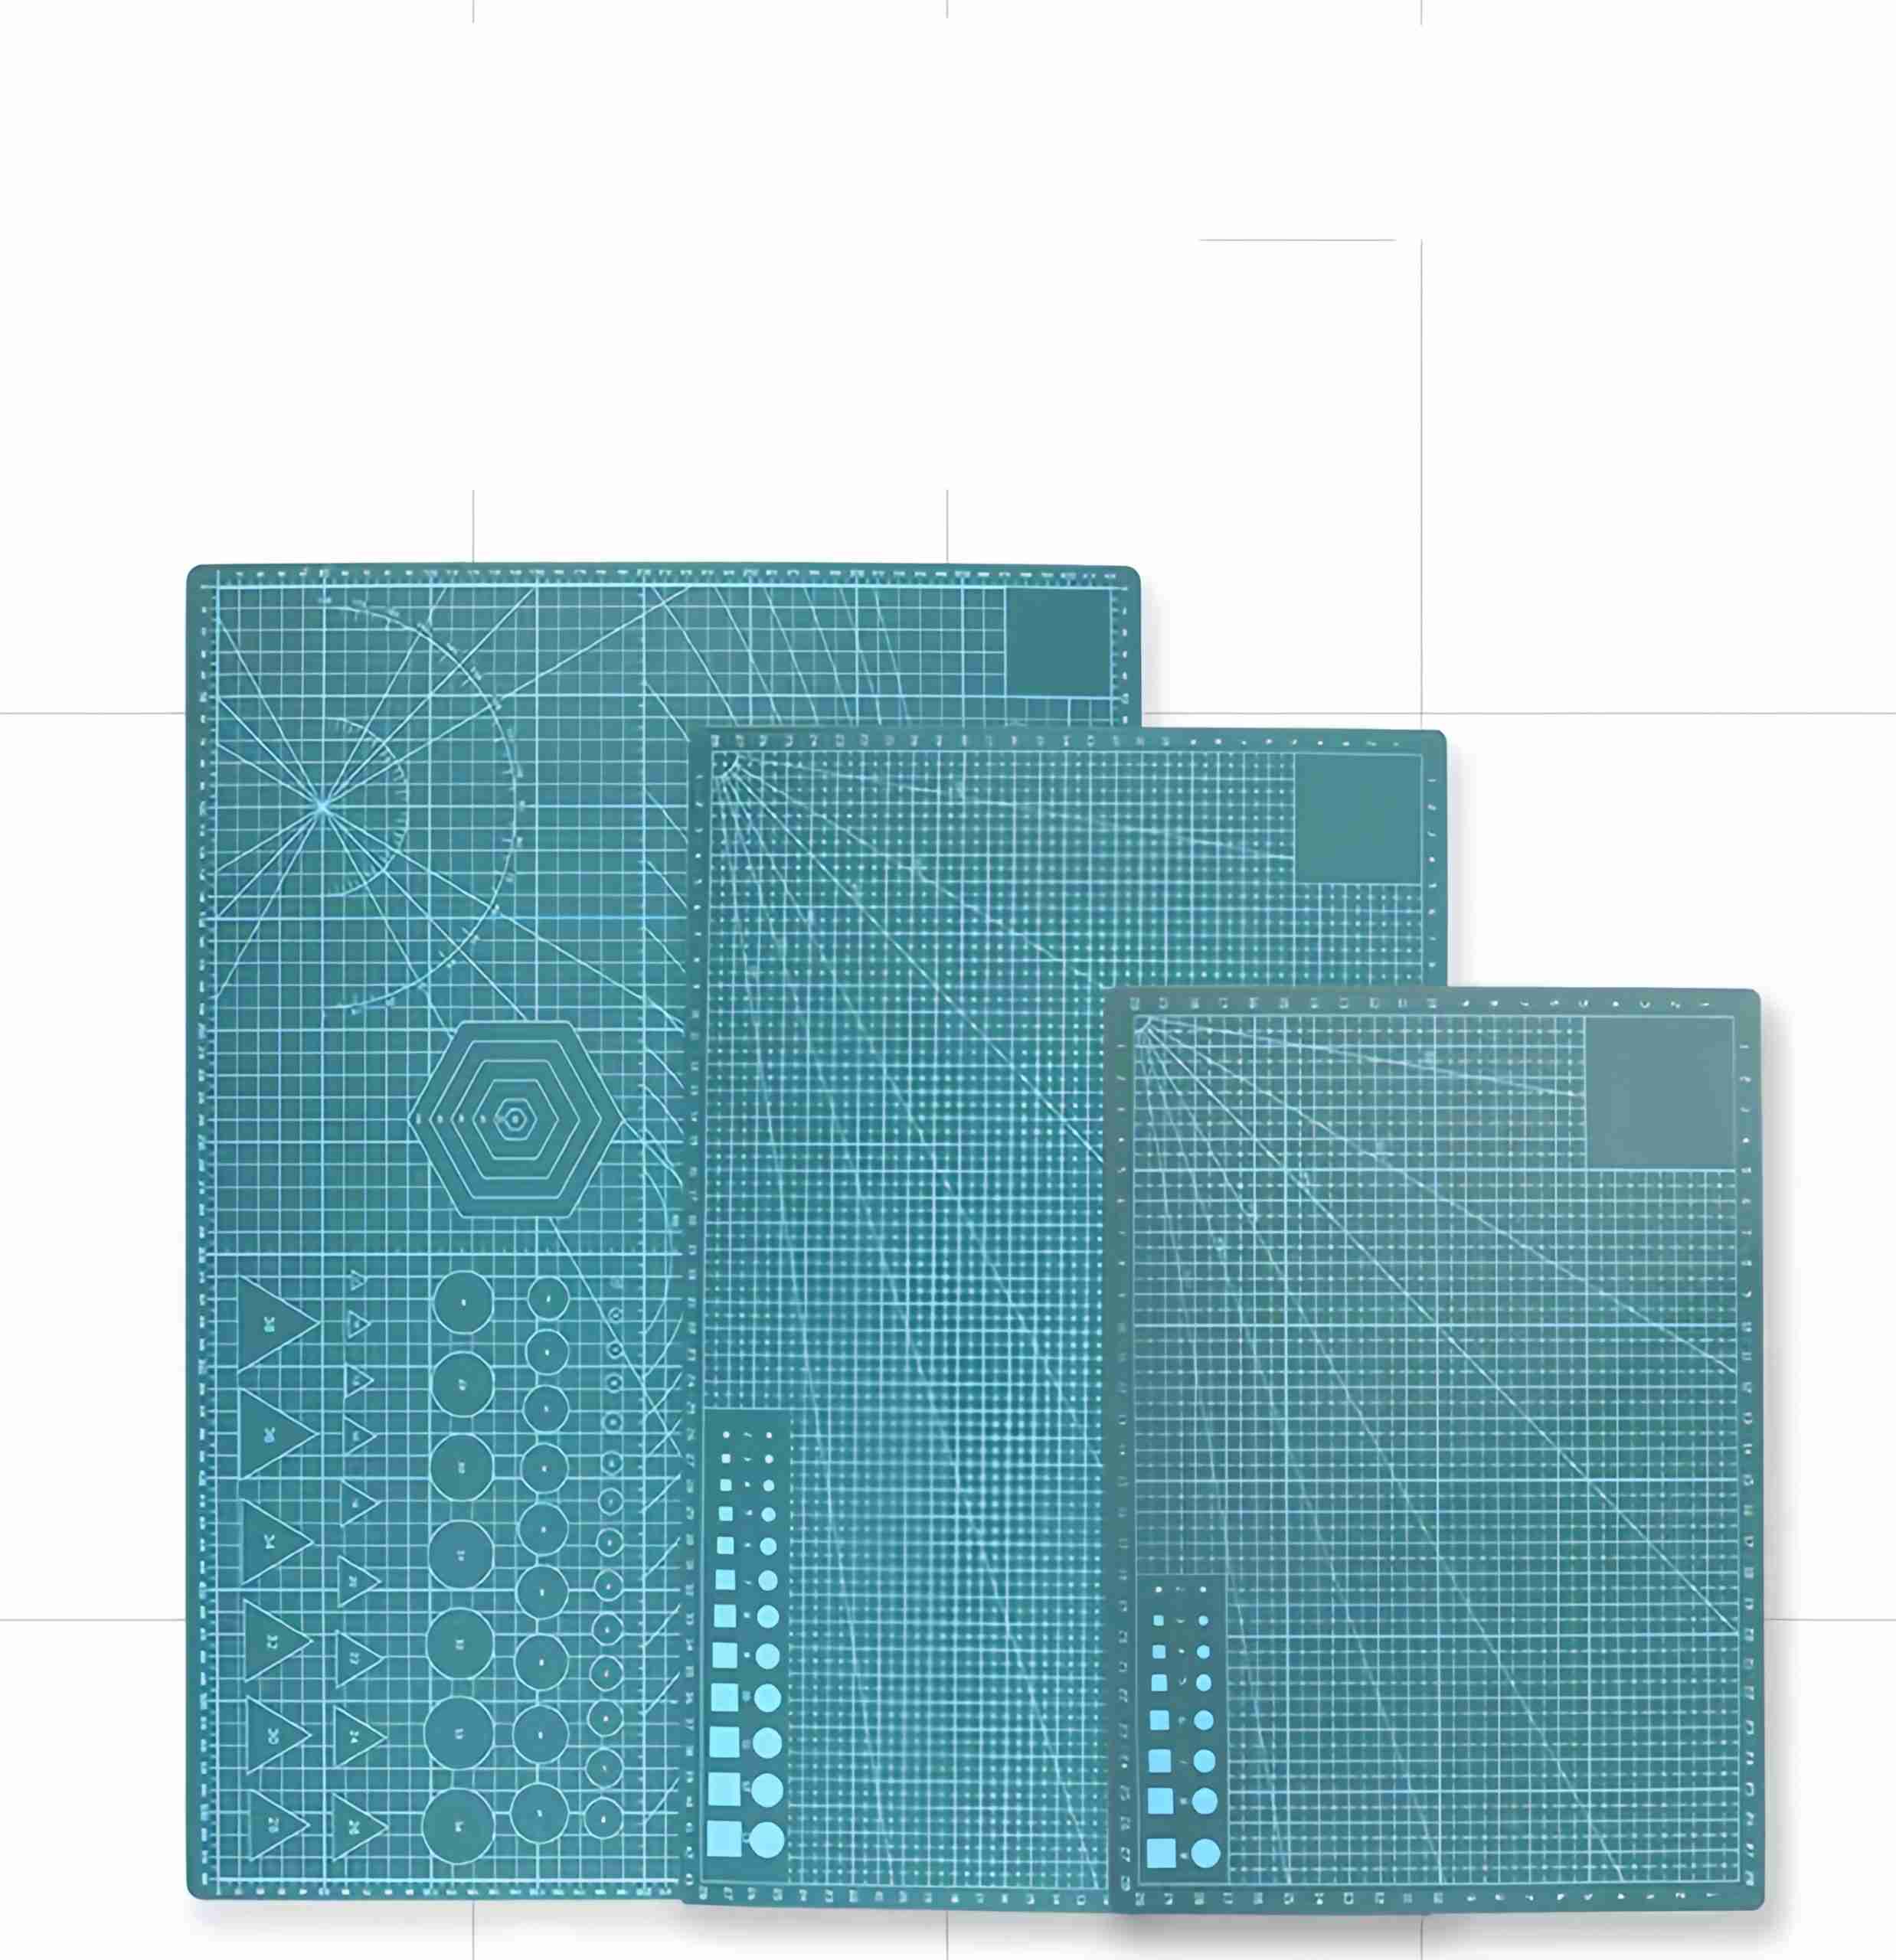
- Place the strip on a cutting pad to protect your work surface and provide a stable base.
- Hold the strip flat. Position the neon light knife perpendicular to the strip at the cut mark.
- Apply steady downward pressure in a single stroke. Do not saw back and forth — one clean cut is always better than multiple passes.
- Inspect the cut face. It should be flat and square, with no tearing or ragged silicone.
Cutting Corners and Curves
Channel letters require neon strips to follow curves and tight corners. For curves, the strip bends naturally — no cutting needed. For sharp internal corners (typically 90° or 45°), you need to notch the strip to allow it to fold without kinking.
Using the High Gloss Neon Grooving Knife
The high gloss neon grooving knife is a specialist tool for creating the V-groove notch that allows a neon strip to fold cleanly around a corner. Without this notch, the strip buckles and creates a visible flat spot at the corner — a common quality defect in finished signs.
Corner Cutting Steps
- Mark the corner position on the strip — the center of where you want the fold to sit.
- Use the grooving knife to cut a V-shaped notch partway through the strip at the corner mark. Do not cut all the way through — the outer face should remain intact.
- Fold the strip at the groove. The notch allows the corner to sit flat and tight rather than bulging.
- Apply a small amount of silicone sealant into the groove to maintain waterproofing at the fold point.
Silicone vs PVC Neon: Cutting Differences
| Property | Silicone Neon Strip | PVC Neon Strip |
|---|---|---|
| Cut feel | Soft, requires firm pressure | Harder, snaps more cleanly |
| Edge sealing | Needs silicone sealant after cutting | Self-sealing on clean cuts |
| Corner notching | Easier — silicone is more forgiving | More precise — PVC splits if over-notched |
| Recommended tool | Neon Light Knife | Neon Light Knife or sharp utility blade |
Common Mistakes and How to Avoid Them
Cutting Between Marked Intervals
Every neon LED strip has designated cut points marked on the PCB — usually indicated by scissor icons or lines. Cutting between these points severs the circuit and permanently disables the section. Always cut at the marks, never between them.
Using Scissors
Scissors compress the strip material as they cut, which distorts the cross-section, creates a non-square face, and often damages the silicone jacket. Always use a dedicated cutting tool with a sharp, straight blade.
Skipping Edge Sealing on Silicone Strips
Silicone neon strips are not self-sealing after cutting. Any cut end that will be exposed to moisture (outdoor or humid indoor use) must be sealed with silicone sealant or an end cap to prevent water ingress and strip failure.
Rushing Corner Notches
Over-notching (cutting too deep) weakens the strip and may sever internal traces. The groove should reach no more than 60–70% of the strip thickness. Work slowly and check depth as you go.
Conclusion
Clean cuts and neat corners are small details that separate professional-grade sign installations from amateur work. Invest in the right tools — a dedicated neon light knife and grooving knife — and the results are consistently better and faster than improvising with general-purpose cutters.
For more on adhesives for LED strips after installation, see our sign maker’s guide to adhesives — including which products to use when bonding flex neon into channels.
FAQ
Q: Cut LED strips anywhere?
A: Only at designated cut points (scissors icon or copper pad). Spacing: 12V ~25mm, 24V ~50mm, COB ~50-100mm.
Q: Best blade for silicone vs PVC?
A: Silicone: sharp utility blade at 30 degrees. PVC: utility at 45 degrees. Dull blades compress silicone leaving rough edges.
Q: Reconnect after cutting?
A: Yes with solder (350-370C) or solderless connectors. Solderless fails faster under vibration.
Q: Waterproof cut end?
A: Apply neutral-cure silicone over exposed pads. Cure 12-24h. Or adhesive-lined heat-shrink tubing.
Q: Minimum strip length?
A: One full segment between cut points. 12V: ~25mm (3 LEDs). 24V: ~50mm (6 LEDs).
Limitations
Covers 12V/24V single-color and RGB LED neon strips (8-16mm) on silicone/PVC. Not applicable to:
- 110V/220V AC neon flex (requires electrician)
- COB strips with continuous phosphor coating
- IP68 outdoor re-sealing (requires specialized potting)
Sources
- IEC 60598-2-20: Lighting chains safety requirements
- 8 LED strip supplier specifications, 2024-2025
- SE Asia sign shop field repair data, 2020-2025
Last reviewed: June 23, 2026.